Revealing Tricks and Going Rogue
It is said good magicians never reveal their tricks. I, for one, am notoriously close-lipped about technical process. However, after a number of inquiries about how I’ve been producing the abstract work I’ve been doing lately, I will buck routine and show what goes into a finished image.
1. Because I’m always asked about this:
Camera: Nikon D-series
ISO/white balance/lens setting/aperture/shutter speed: I have no fucking idea. It was whatever gave me a good result at the time (but if I have to take a stab, maybe 400ASA/f5.6/.25 seconds for the studio portion, 400ASA/f16-f22/60th-80th of a second for the outdoor work). I don’t want to give anyone the idea that I’m not attentive to the technical side. In any other setting, I am paying as close attention to how I shoot as what I shoot, but I don’t track that information over time. Nonetheless, for this particular studio work, it can be akin to painting and I am frequently flying by the seat of my pants.
1 1/2. Before I jump into the tech stuff, I’ve got to make a small mention of meaning and intent. When creating an abstract image, I am usually working with an image in my head and an idea of the meaning I want to convey. This I really can’t describe in a step by step. In this case, this was built alongside a poem called Aubade, a song of morning (not mourning), which is about uncertainty, the unknown, and not wanting to be trapped or wanting to be trapped. That is all I’m going to explain. I’ll leave the interpretation up to the audience.
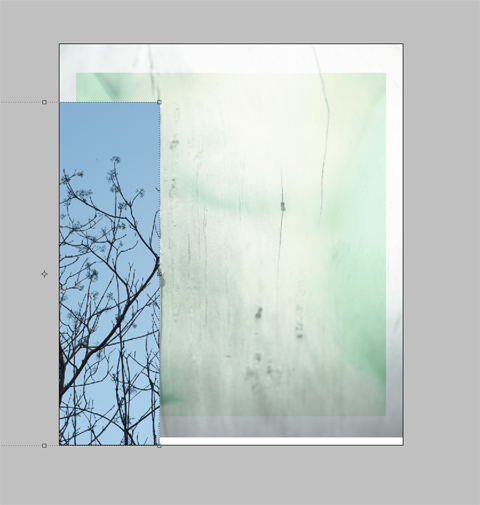
2. I’ve been collecting images to incorporate into this project from various sources. I’ve shot honeycomb and rainwater, seafoam, driftwood, rocks and trees and sand dunes for the organic elements. Not everything gets used, but I’ve accumulated (and continue to do so) a good palette of the natural world. For this image, I chose:
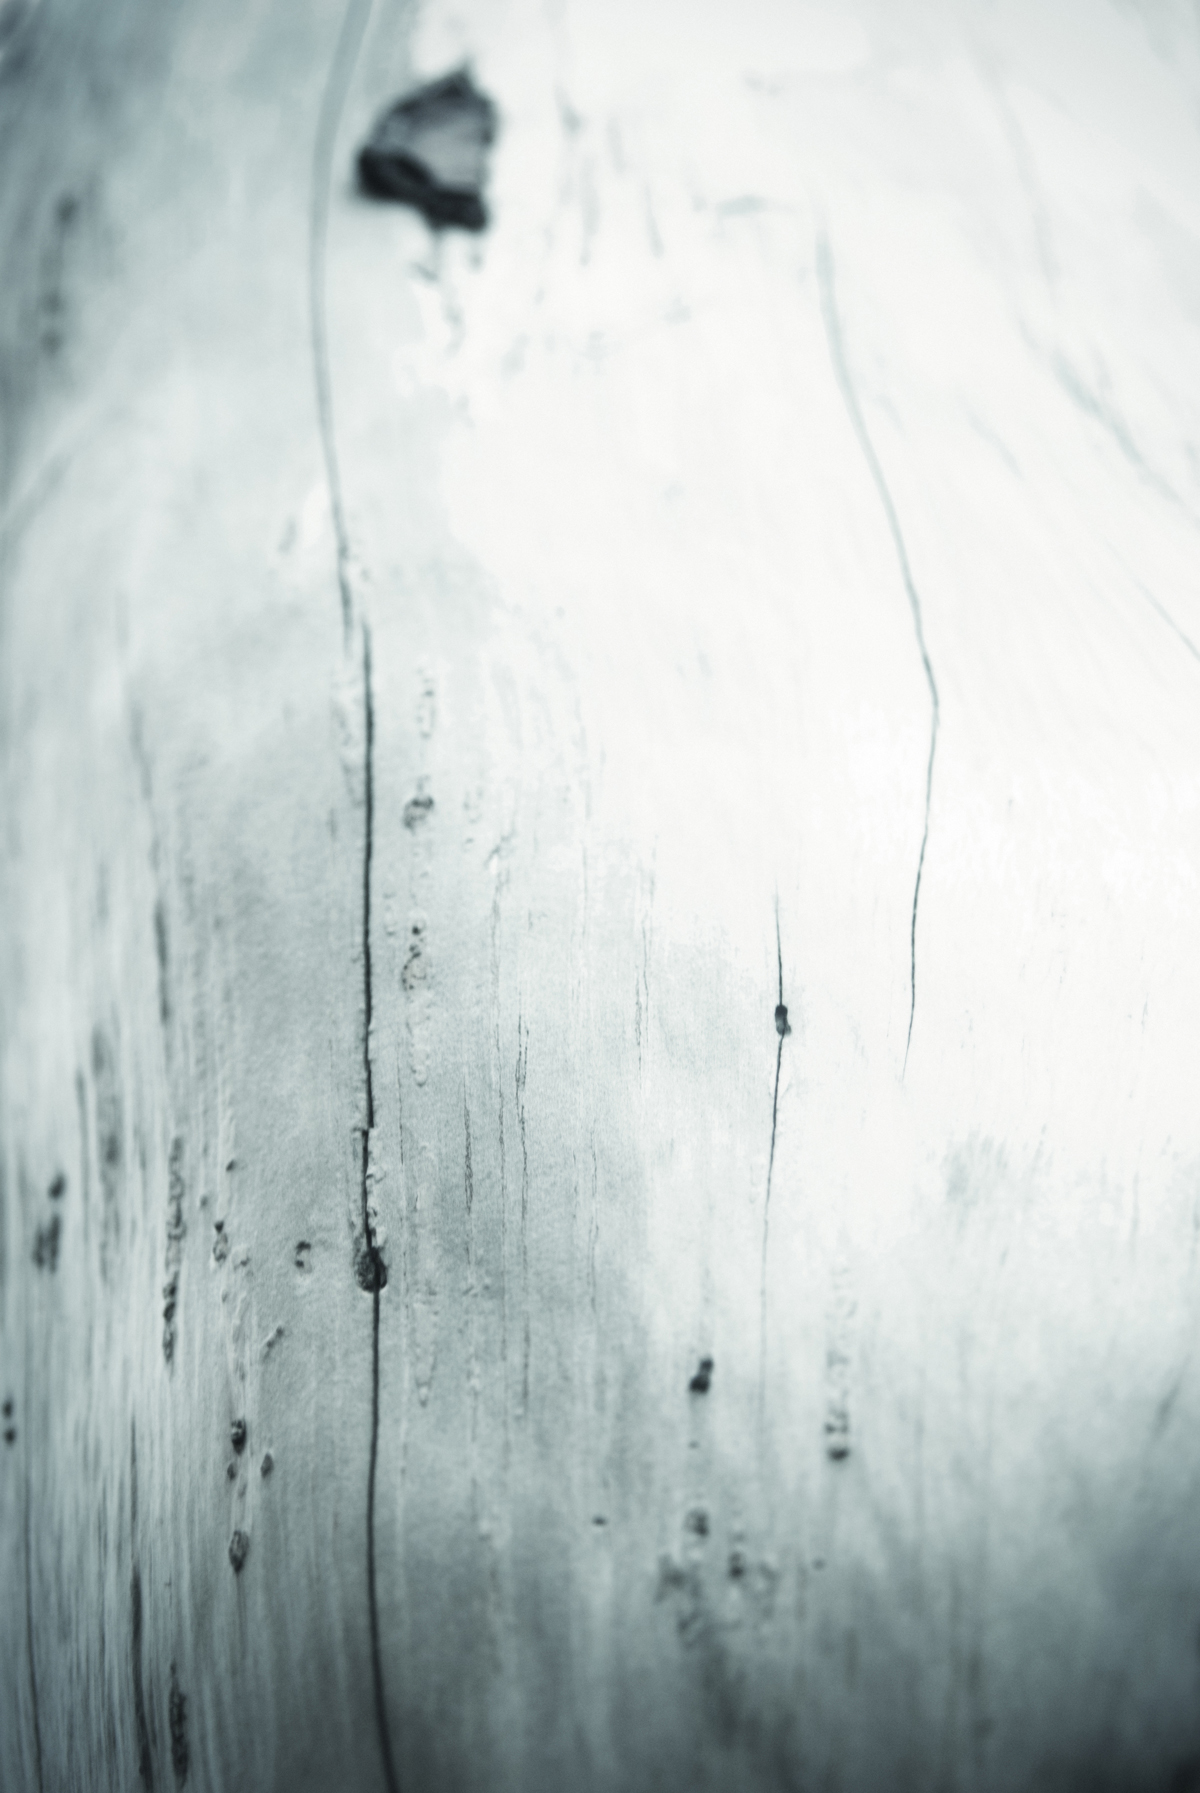
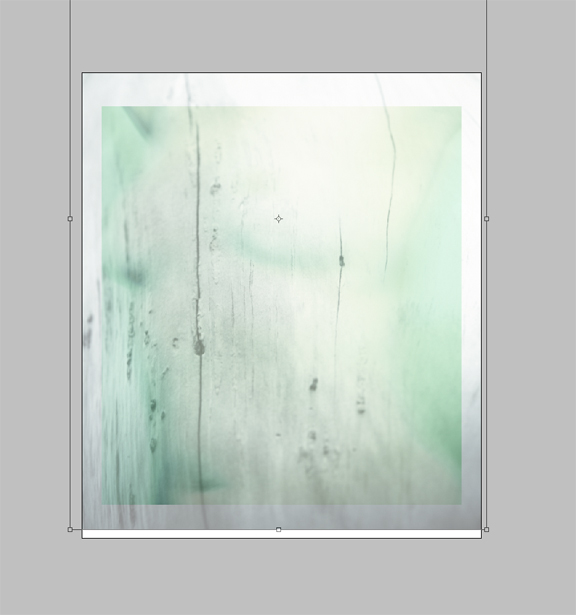
A piece of texture from a large tree washed up on the beach in Lincoln City. Here, it has already been run through a filter, which shifted the color and gave a slight vignetting effect to enhance the existing falloff around the edges (more on the filter use below).
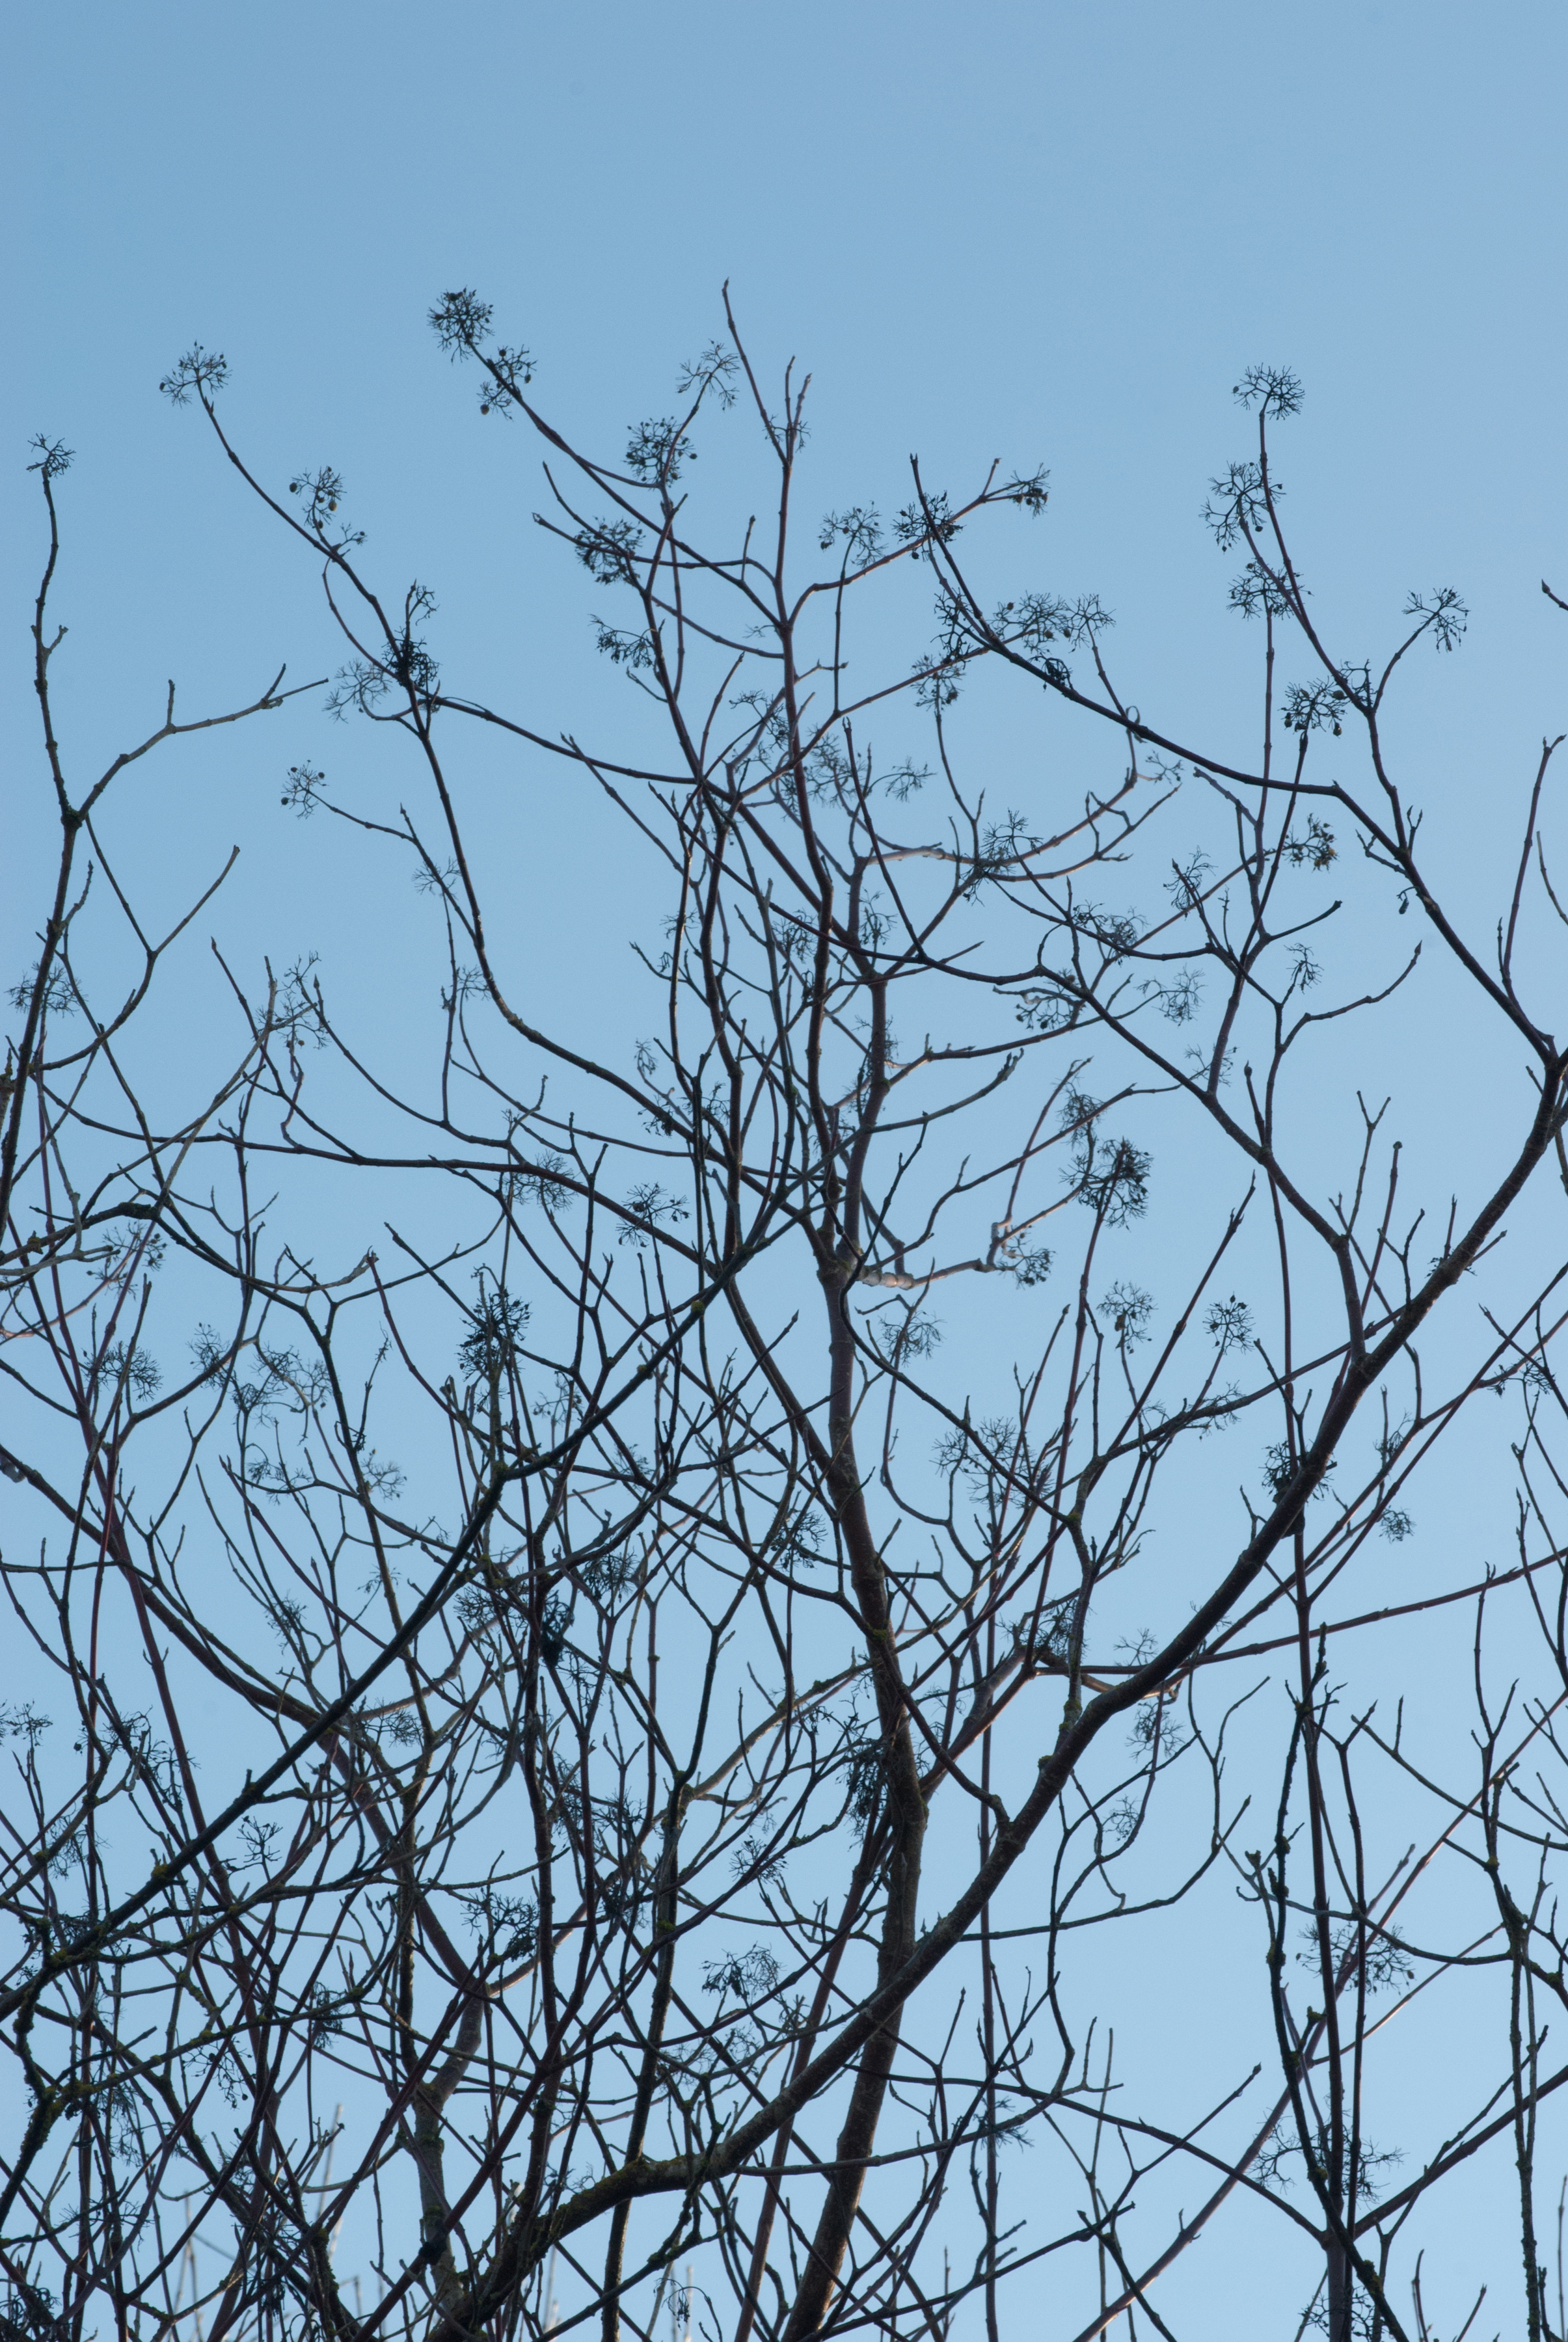
A relatively uninteresting photo taken on a bitterly cold January afternoon at Smith Bybee Wetlands so that I could incorporate the tangled, winter-bare branches.
3. Photographing the model.
In taking these, I deliberately shot several at a slow shutter speed for a dreamy, unsteady effect. The warm/greenish lighting was pure serendipity from available light. Under most circumstances, this would be totally inappropriate, but it lent an unexpected even moodiness to all of the images in this series, even when the color was distorted.
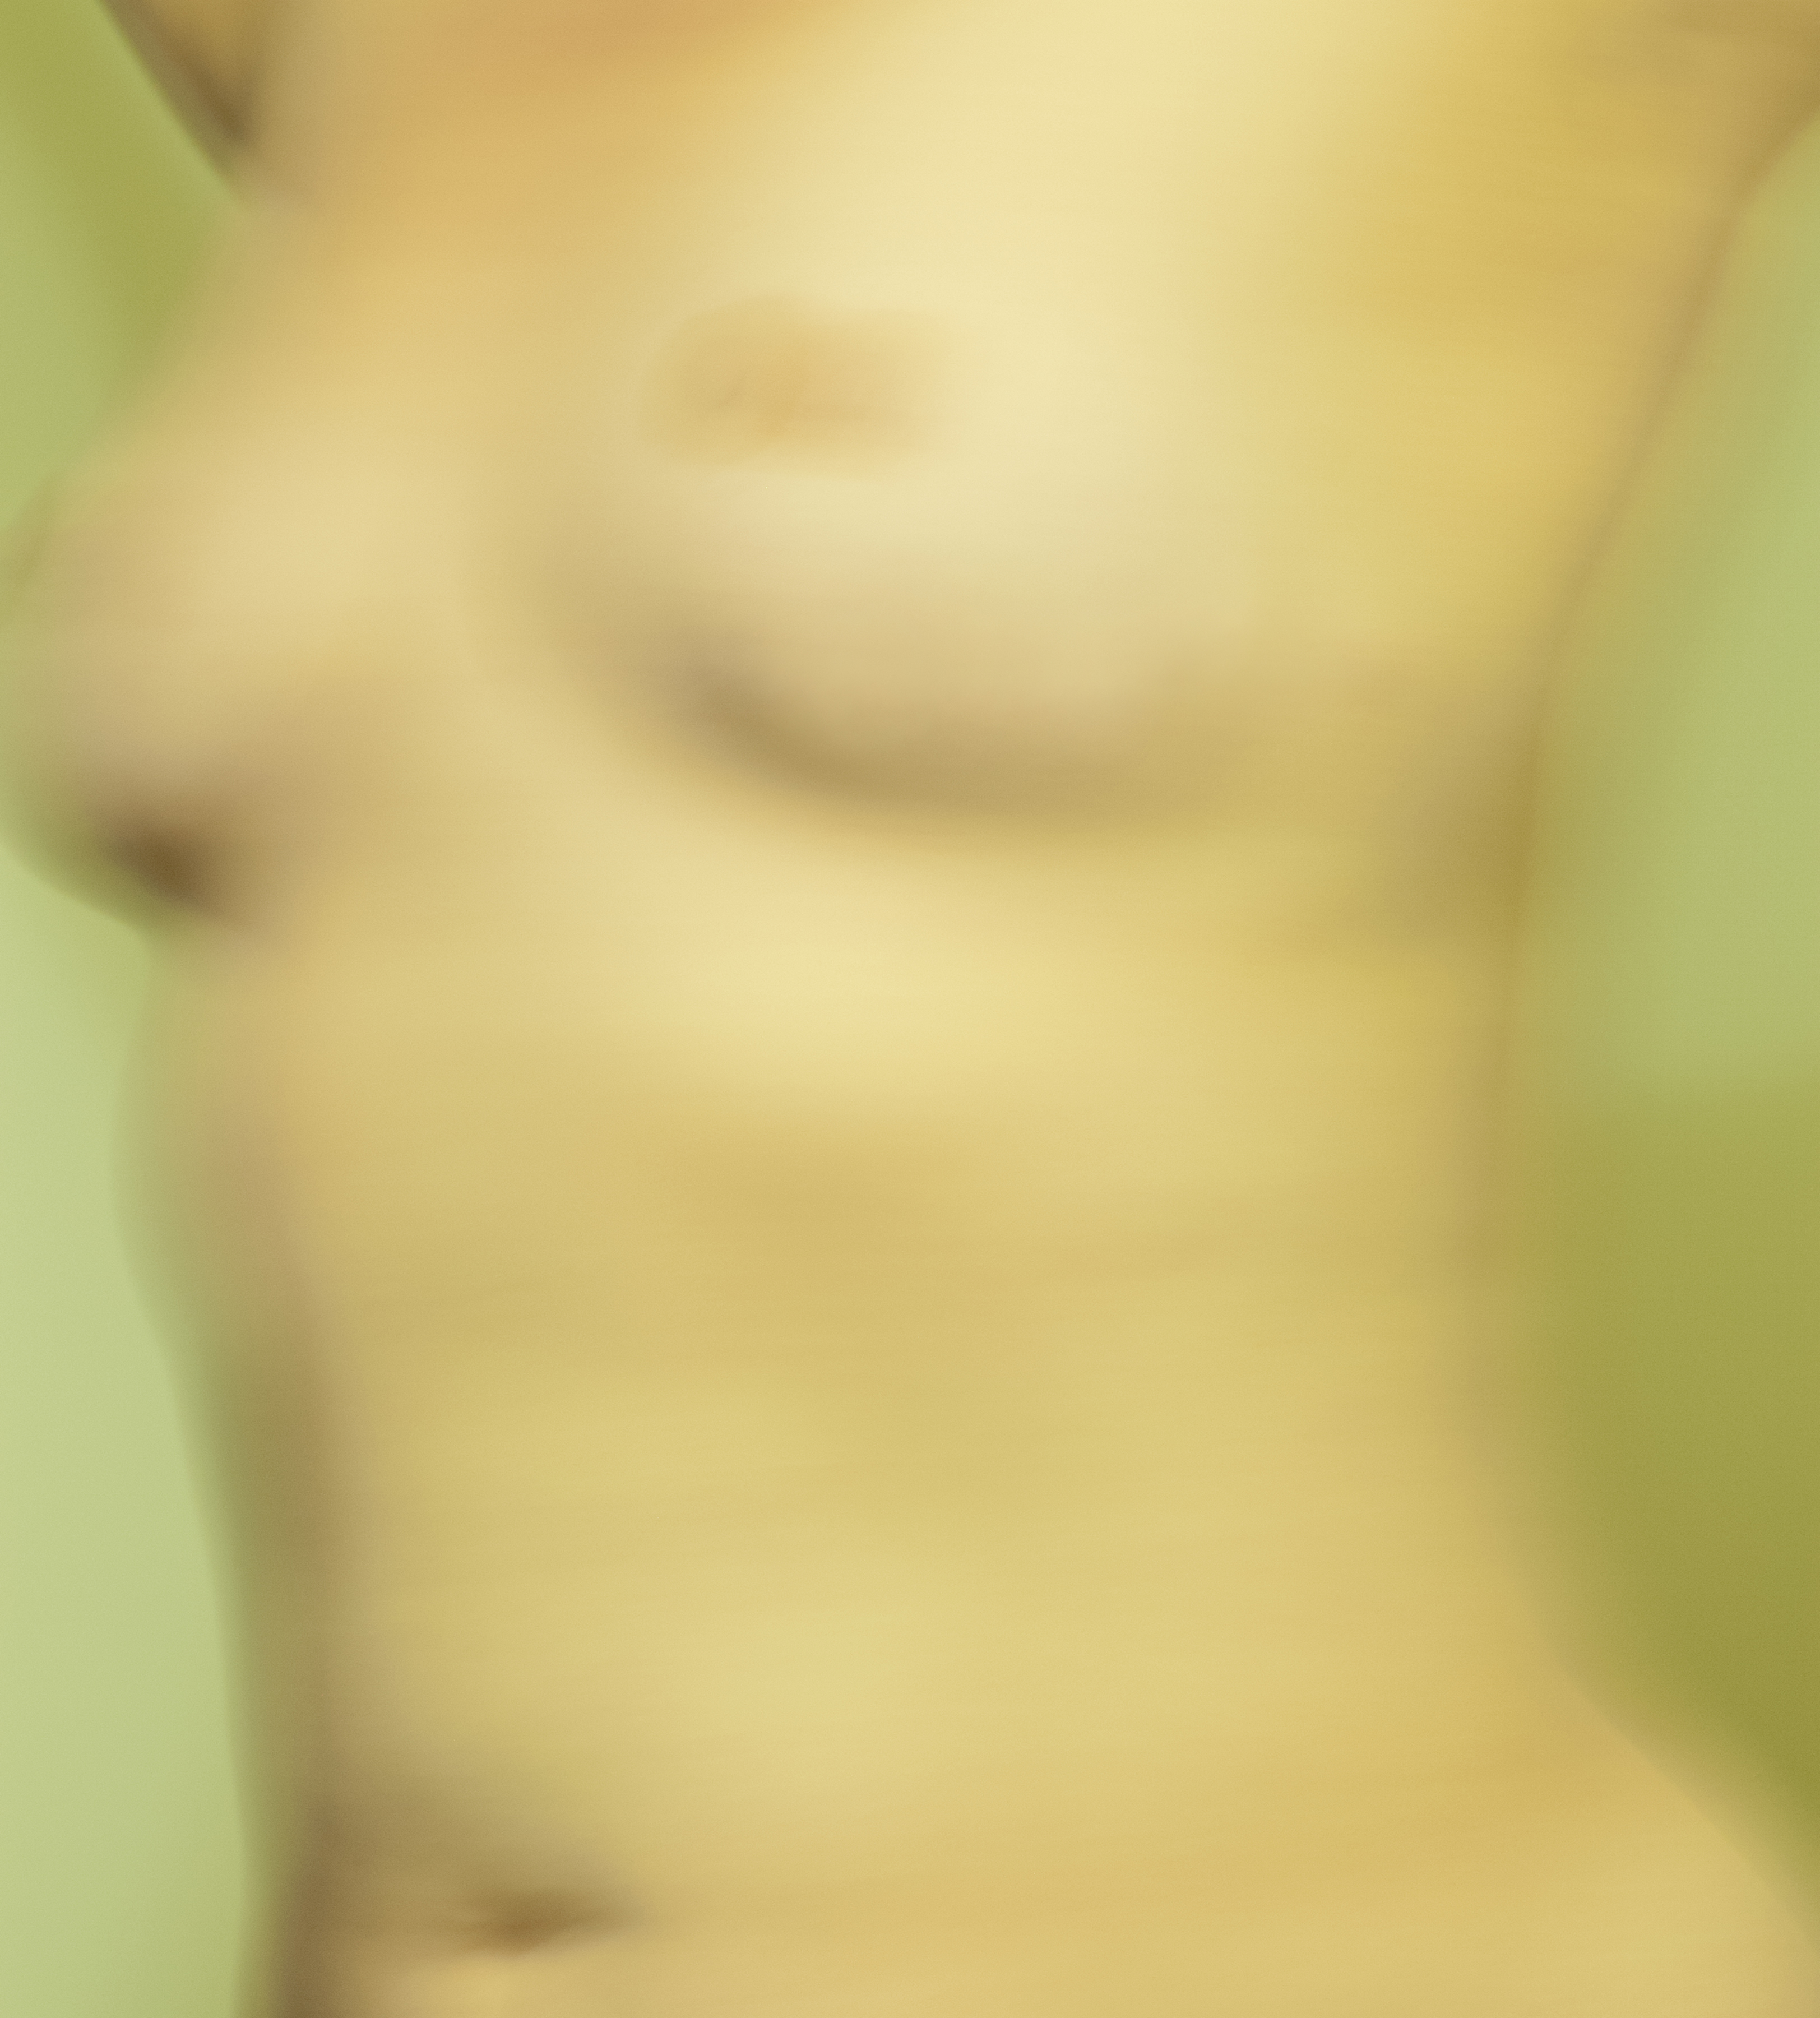
4. Here is where I started, with the torso as a base. In Photoshop, it was run through an Alien Skin filter (sorry, I have no idea which one I used) which changed the color, and to a lesser extent, the contrast. In straightforward photography, I really don’t like relying on filters for effects. But with abstract work, it’s just another option in the toolbox. For me, the experience is the same as mixing color on a palette or dipping my hands back into the developer.
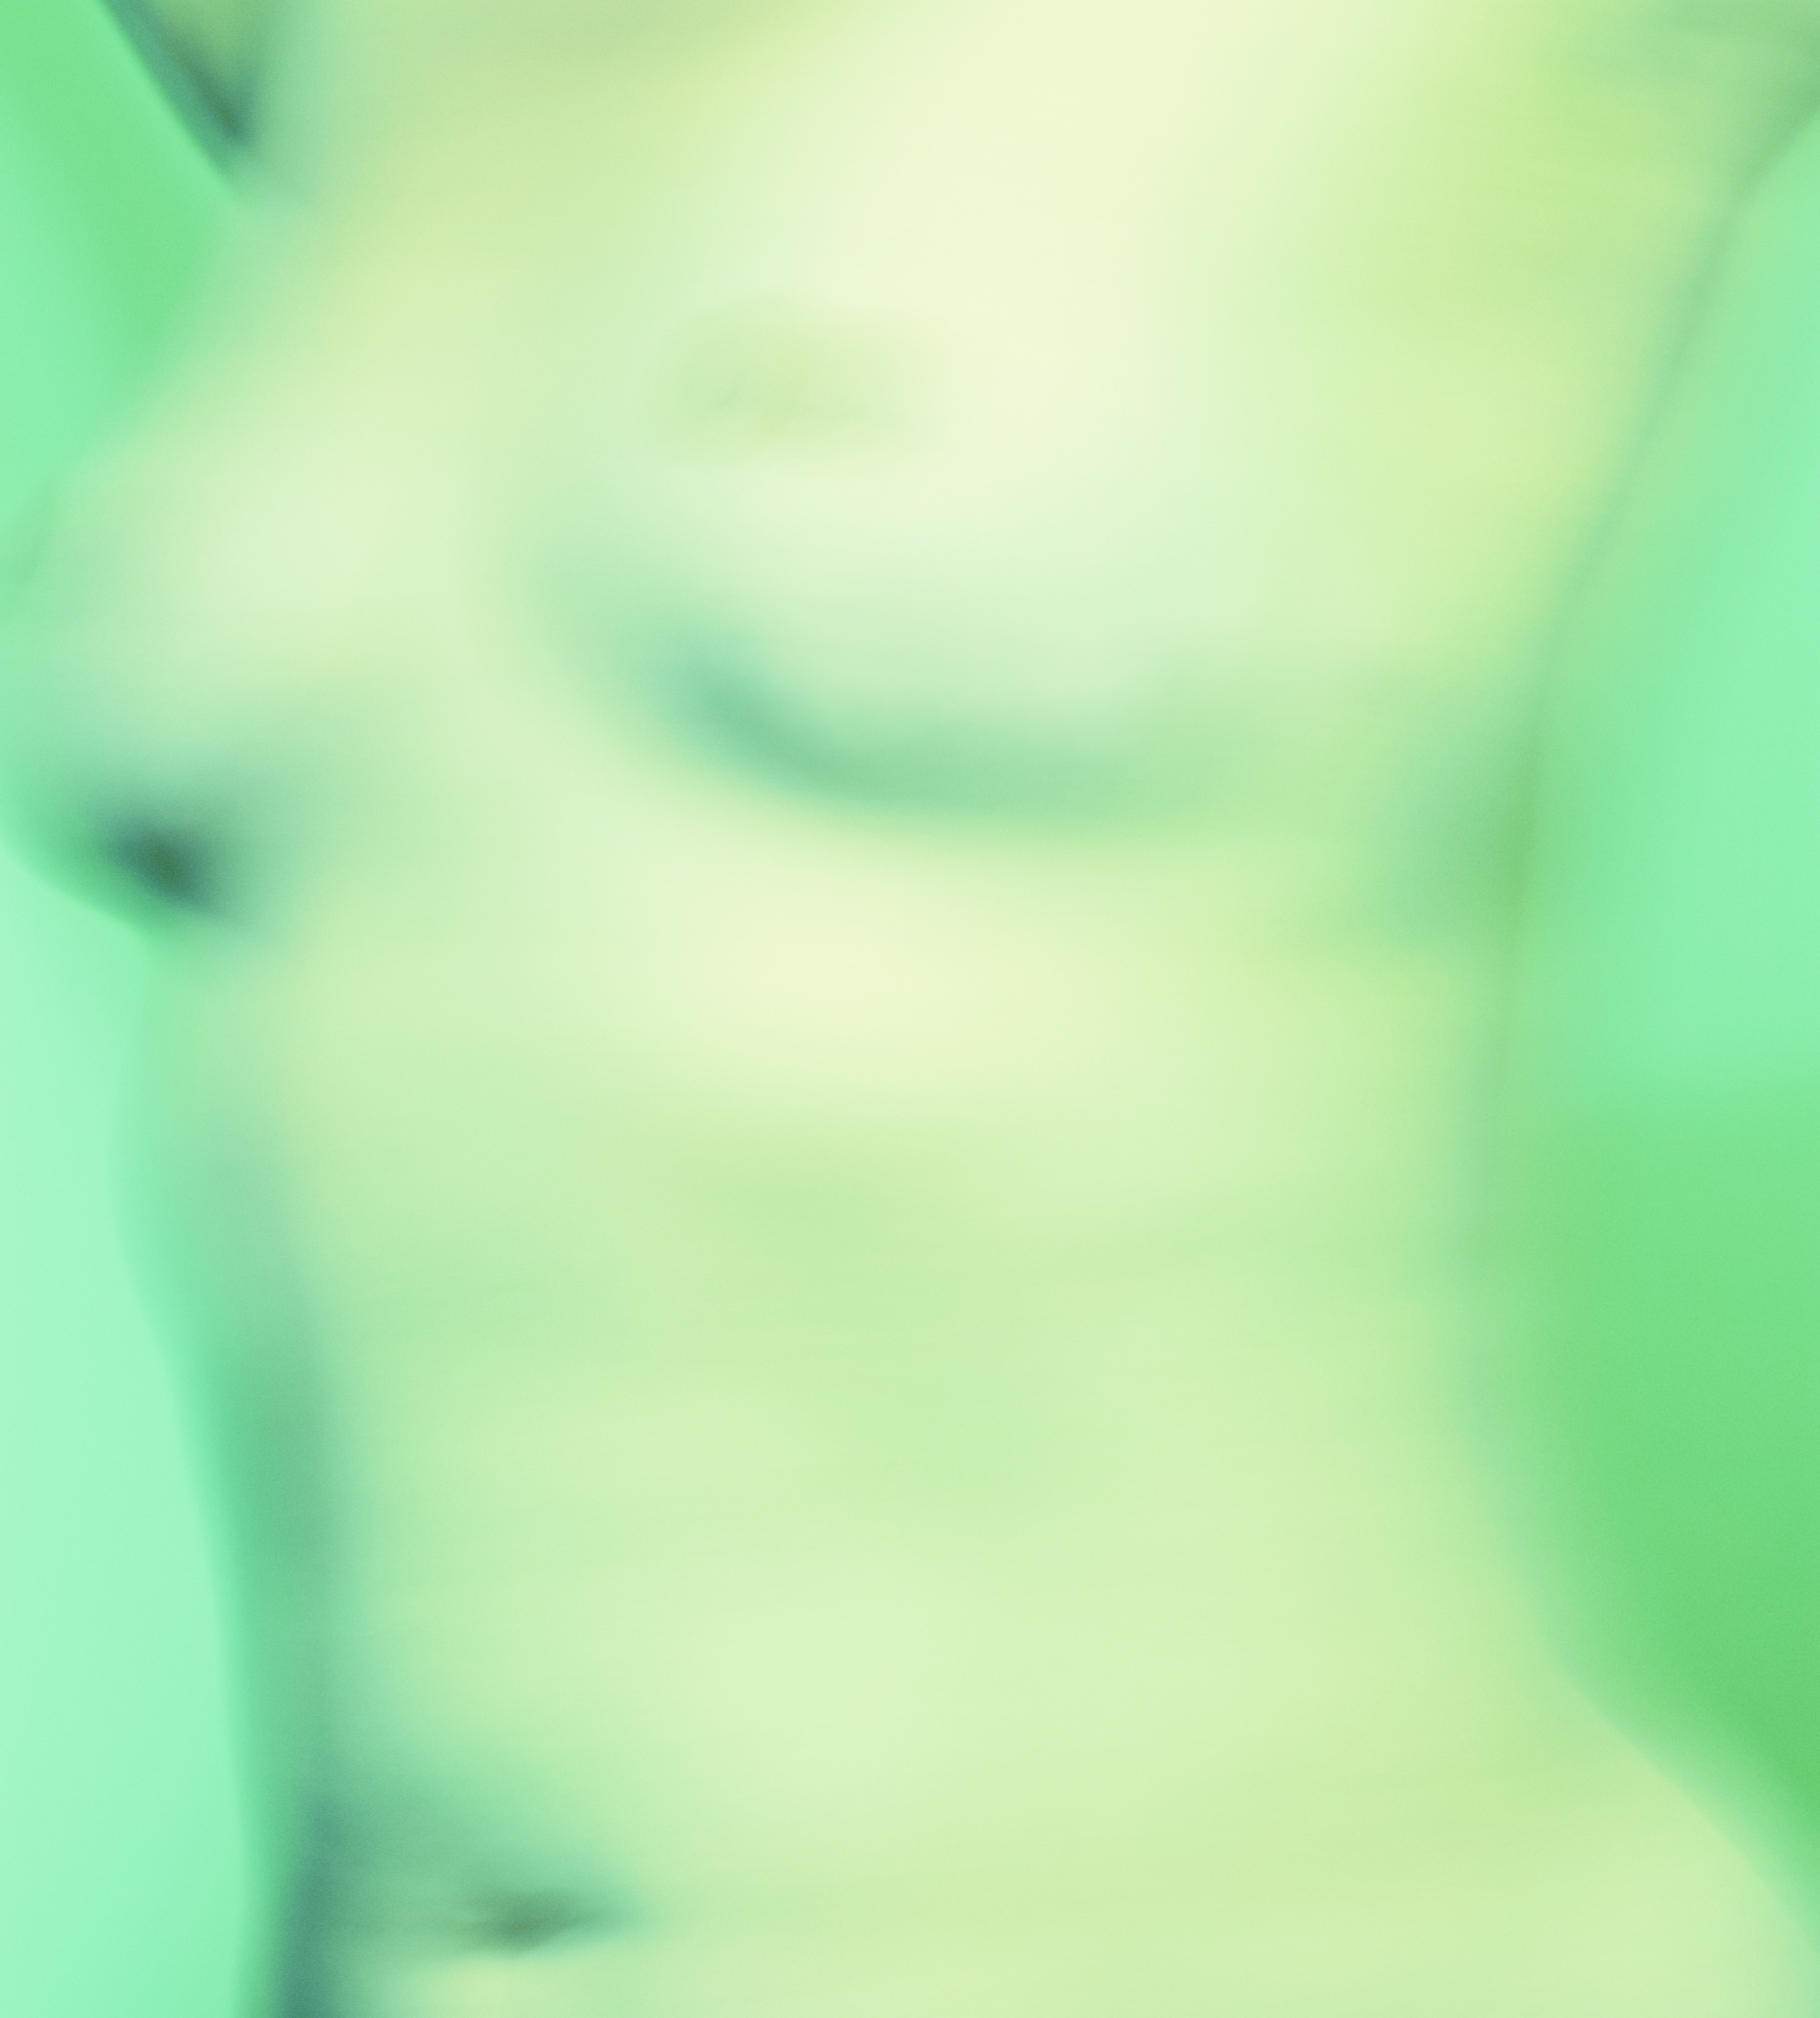
Still, this was more harsh than I really wanted, so I toned it down by reducing saturation.
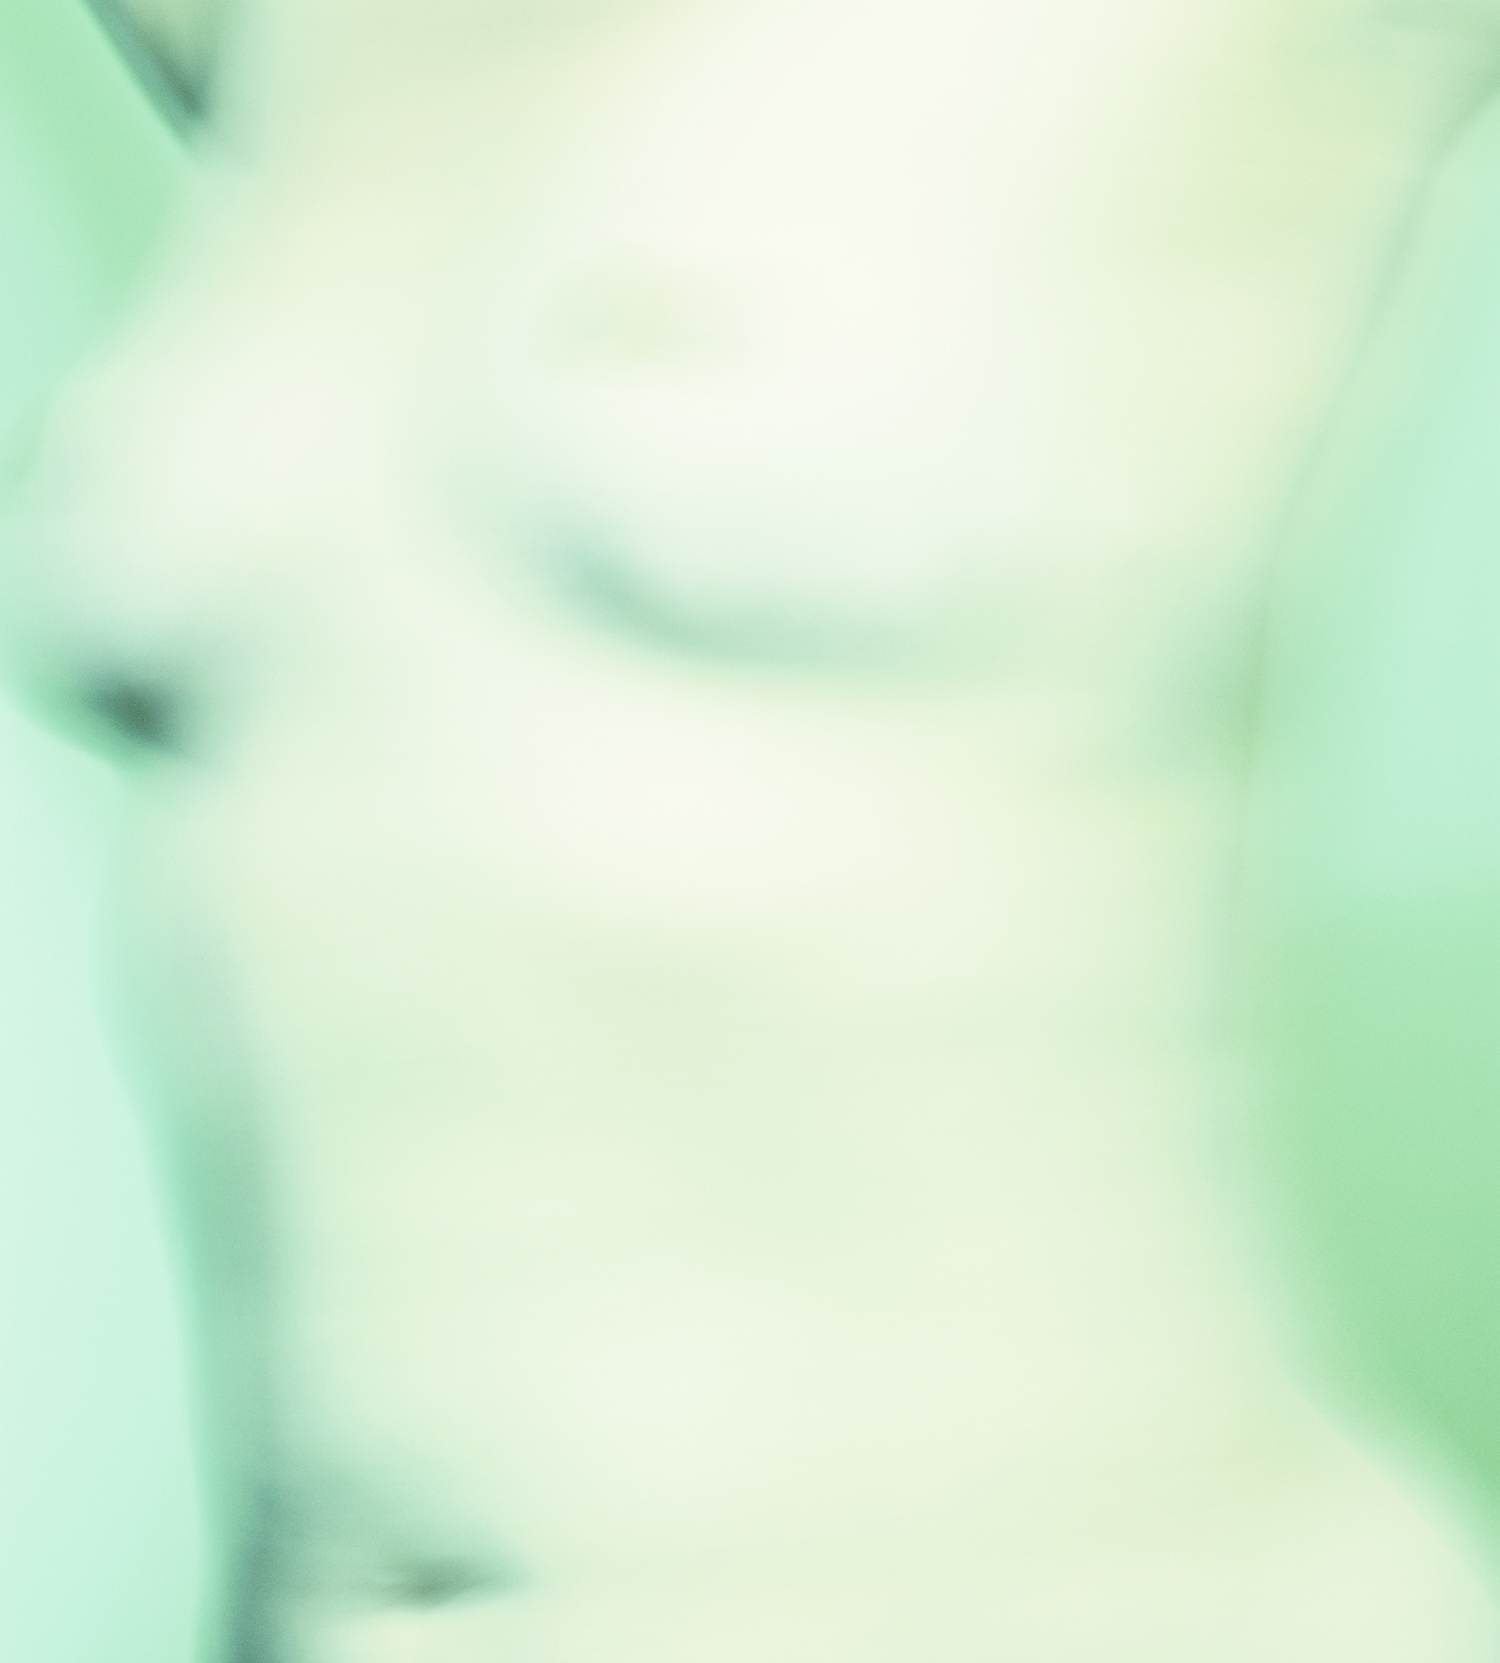
I could have stopped there, but I kept tinkering with color balance, contrast, and toning until I hit the magic combination.
The difference isn’t much, but I’m going by feel and this is where it felt like it wanted to be.
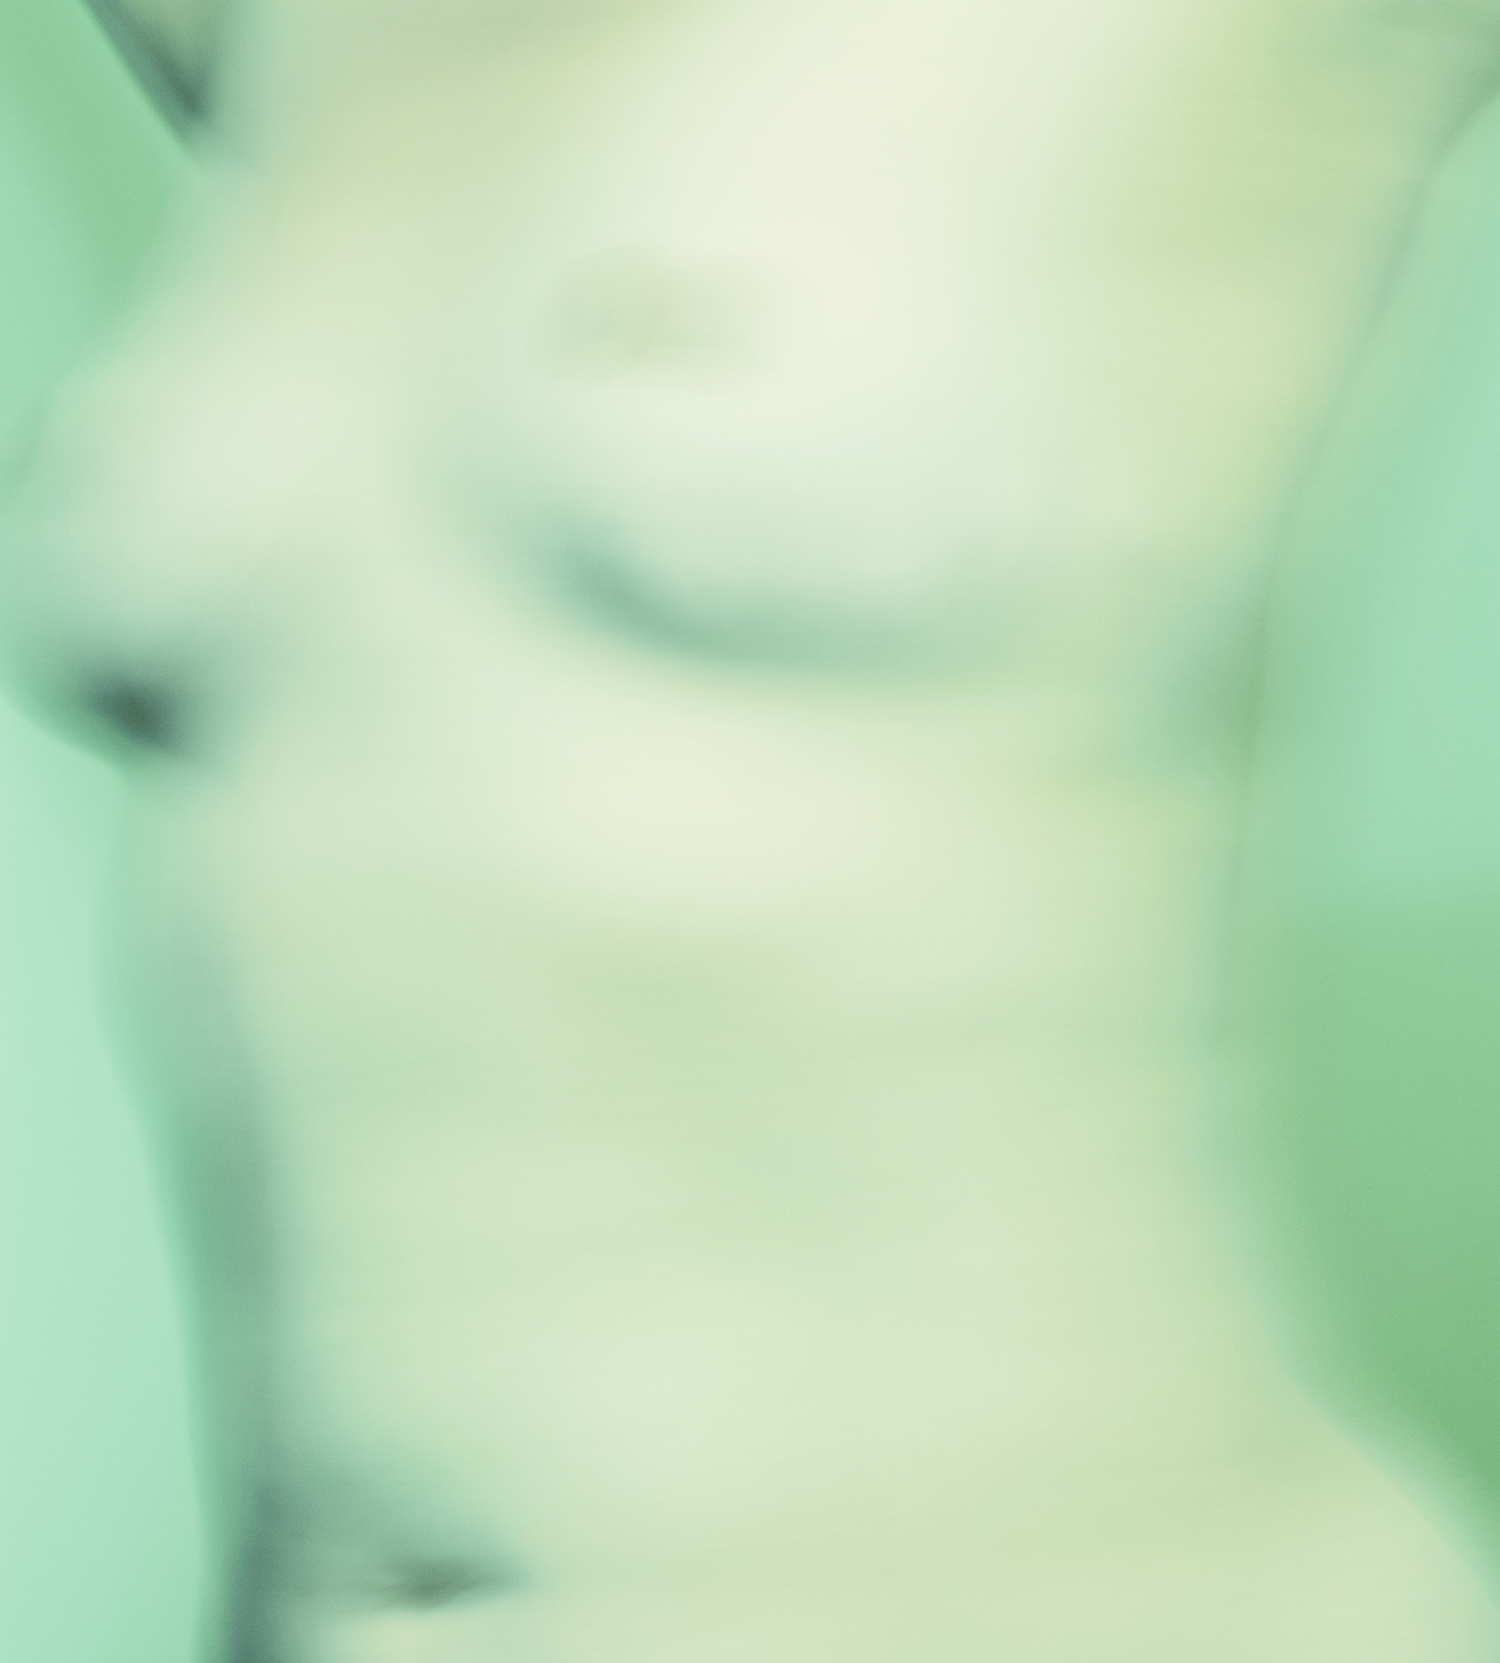
5. Then the driftwood was layered over the torso and shifted around until felt right (again). The driftwood layer is set at about 50% opacity.
6. Over the other two layers, is the tangle of branches, set at 25% opacity.
7. With all of the elements in place, I cropped the excess from the edges, and did some very slight (eraser tool at about 9%) blending at the top and down the “seam”.
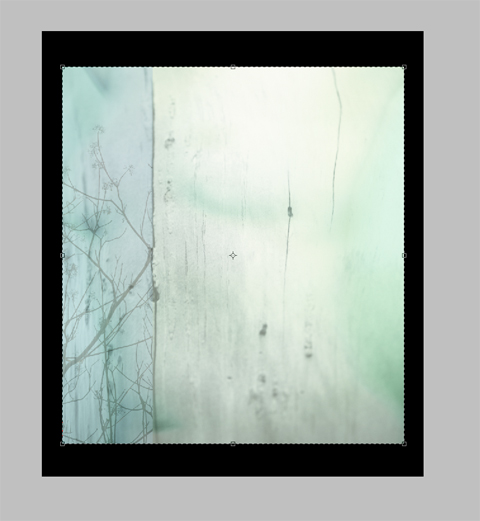
8. This was close, but it lacked contrast and punch. I flattened the image and ran it through Alien Skin one more time and adjusted the saturation and contrast until I had my stopping point.
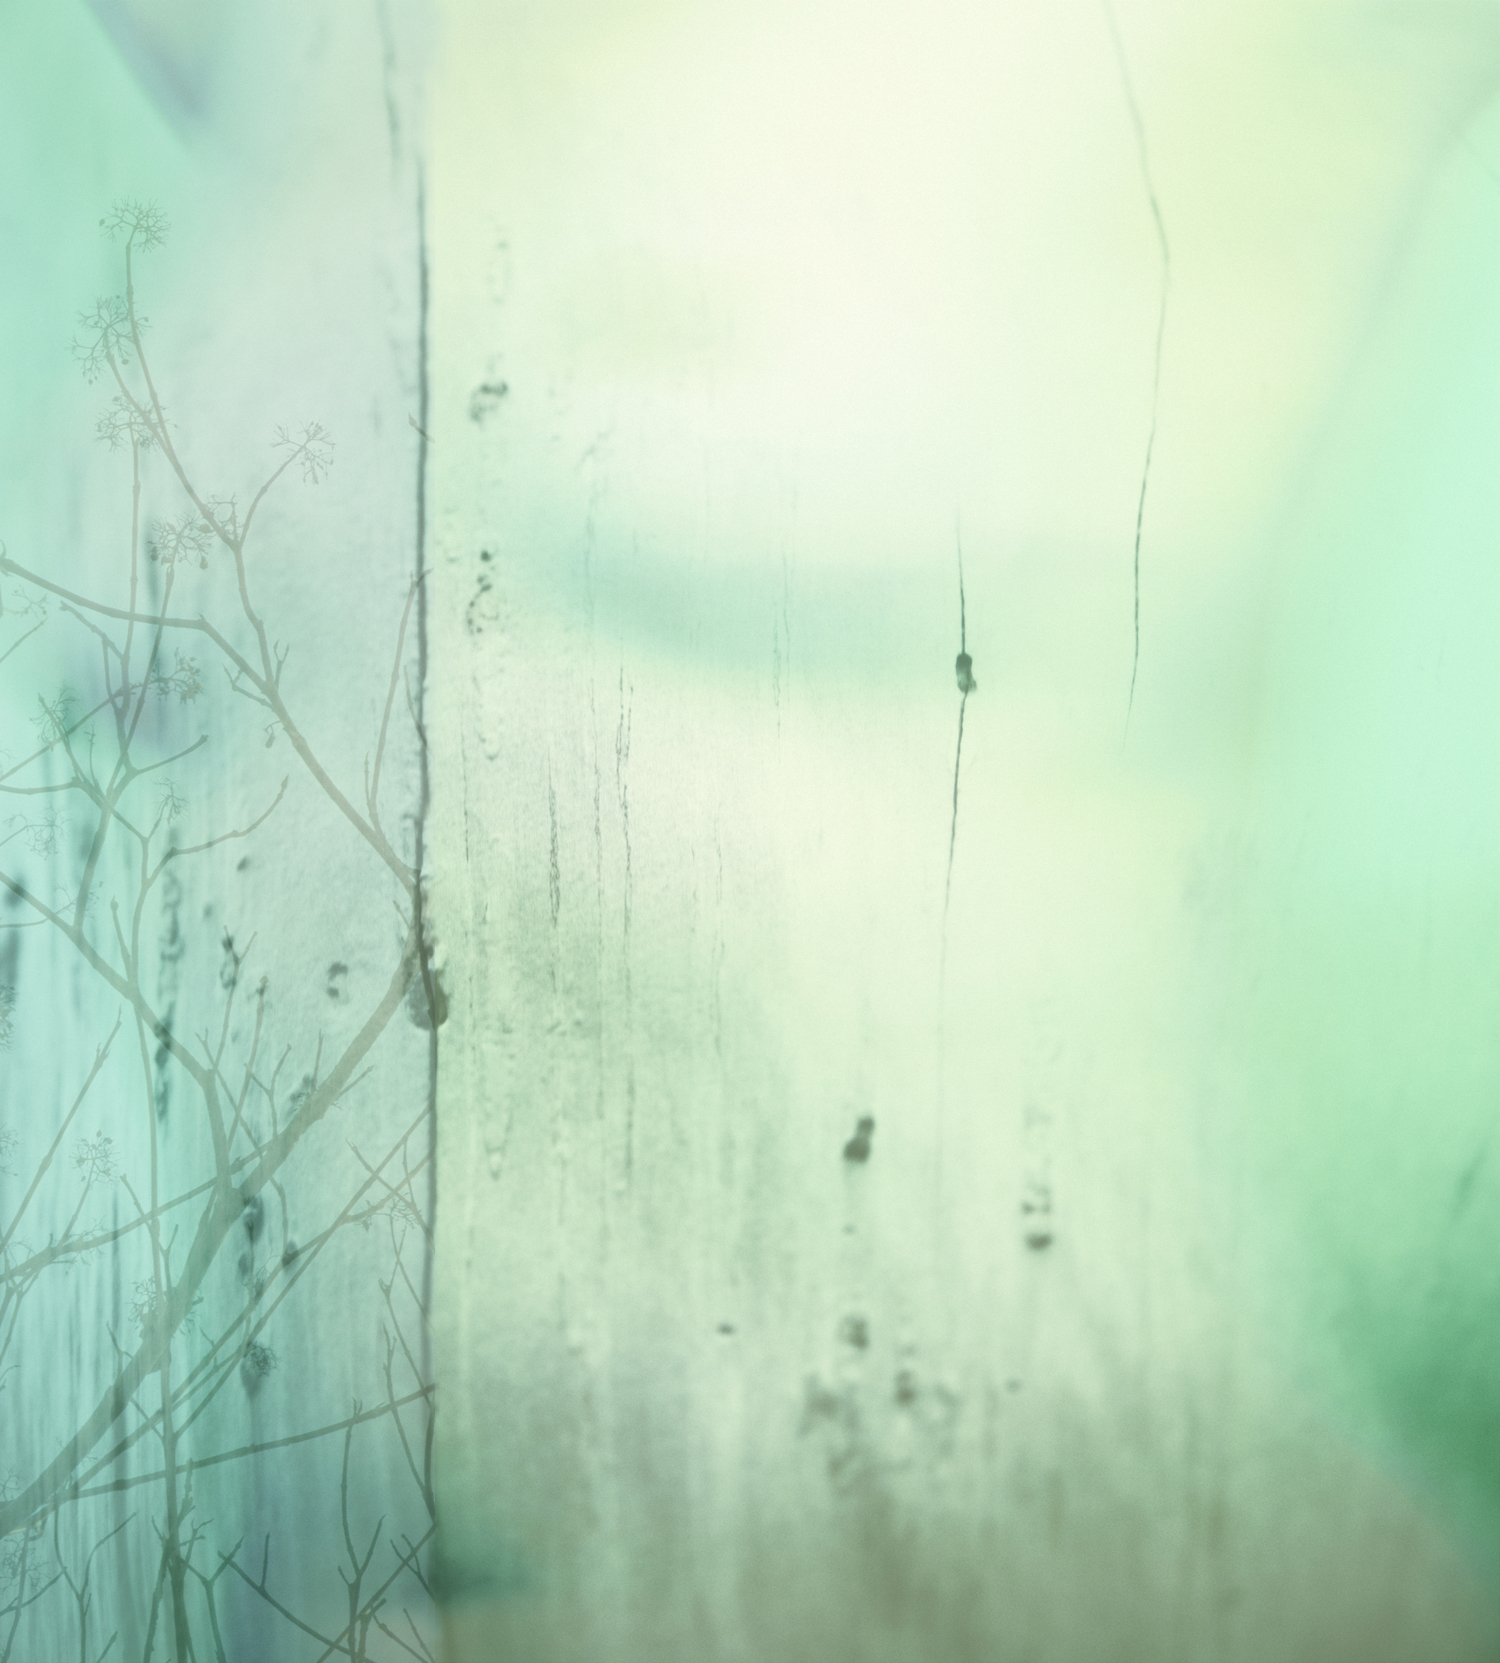
Daphne This Hour
This was a relatively simple one. Many of the other images from this series require significant additional blending, adjustments by layer, fitting, cloning, spotting, noise reduction, and other tinkering around until it looks the way it was conceived in my head.
One thing I’ve learned from all of this is that I make poor artistic decisions at 4am. The other is that throwing out 75% of everything I thought I knew and believed and was taught about creating a photographic image and going rogue is fun.